


If eyeliner has ever felt a little intimidating, trust me you’re not alone. We’ve all dealt with uneven wings, shaky lines, or that one eye that just won’t cooperate. The good news? With the right technique (and the right liner), it’s way easier than it looks.
Whether you’re going for a soft, everyday vibe or a bold, defined wing, here’s how to get there step by step.

Step 1: Start with the Right Eyeliner
The formula you use really does make a difference, especially when you’re just starting out. A liquid liner with a fine, flexible tip gives you the most control and helps you create clean, precise lines.
A classic black liner is perfect for bold, dramatic looks, while brown is your go-to for something softer and more natural. If you’re new to eyeliner, brown is a great place to start it’s more forgiving and super wearable for daytime.
Step 2: Prep Your Lids
Before going in with liner, make sure your eyelids are clean and dry. If your lids tend to get oily, lightly set them with powder or a neutral eyeshadow. This helps prevent smudging and keeps everything in place longer.
Step 3: Start Small
Instead of trying to draw one perfect line (we’ve all tried—it rarely works), use short, light strokes along your lash line. Stay as close to your lashes as possible to create a fuller, more natural look.
Pro tip: Rest your elbow on a flat surface to keep your hand steady, it makes a huge difference.
Step 4: Build Your Line
Once you’ve mapped things out, go back and connect your strokes. Keep it thin for a natural look or build it up if you want more drama.
Take your time precision comes with practice.
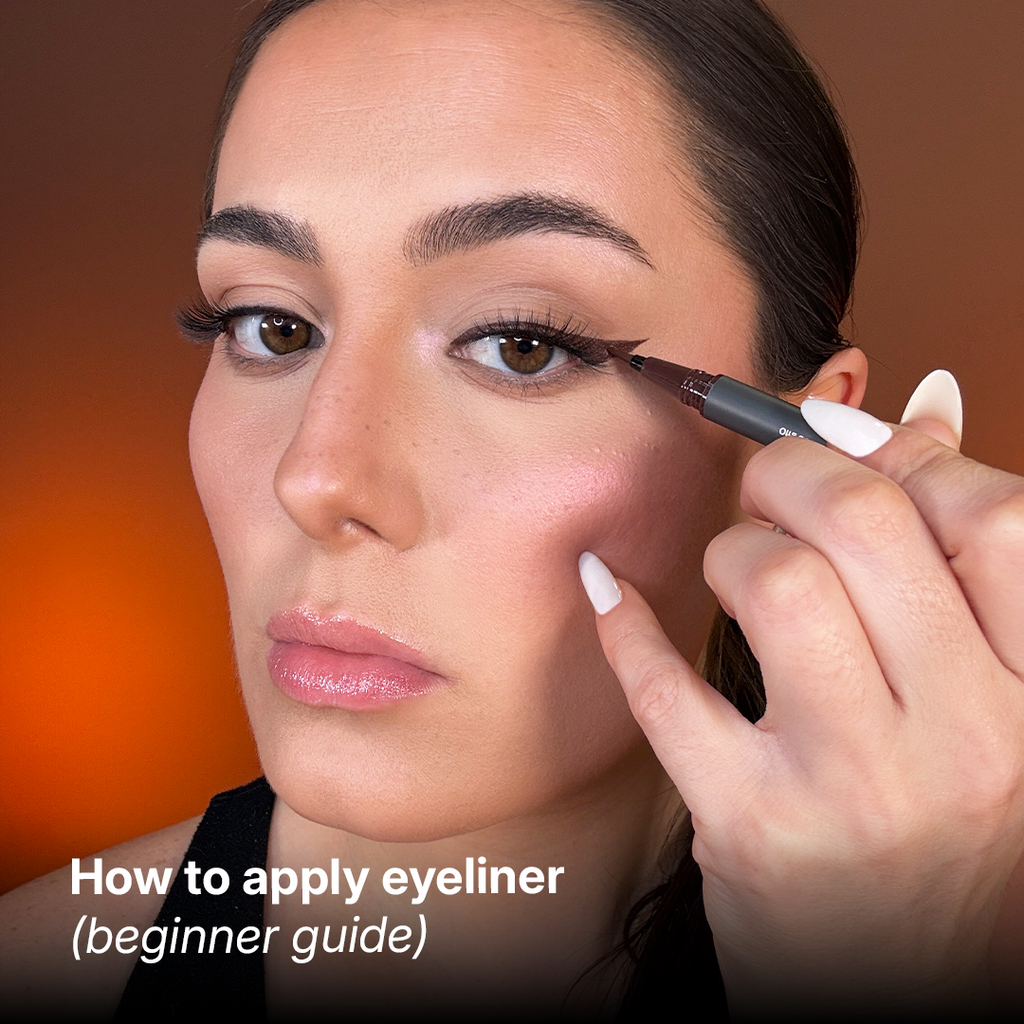
Step 5: Create a Simple Wing
Ready to try a wing? Keep it simple:
-
Look straight into the mirror

-
Draw a small flick outward from the outer corner

-
Connect it back to your lash line

Start small you can always build it up once you feel more comfortable.

Step 6: Clean Up & Perfect
Mistakes happen (and honestly, they’re part of the process). Use a cotton swab or a bit of concealer to clean up edges and sharpen your line.
Black vs. Brown: When to Use Each
Both shades deserve a spot in your routine it just depends on the look you’re going for.
-
Bold, dramatic looks
-
Sharp, defined wings
-
Perfect for nighttime glam
-
Soft, natural definition
-
Everyday wear
-
Effortless, “no-makeup” makeup looks
If you’re just starting out, brown is your best friend, it’s subtle, flattering, and super easy to work with.
A Beginner-Friendly Pick
If you want something that makes eyeliner feel way easier, look for a formula with an ultra-fine brush tip and a smooth, skip-free glide.
That’s exactly what OFRA Cosmetics created with the Verified Liquid Eyeliner. It’s designed to give you:
-
Clean, crisp lines without dragging
-
No bleeding or smudging
-
Easy control for both natural and bold looks
The black shade is perfect for that classic definition, while the brown shade gives you a softer, everyday finish that’s super wearable.
Final Thoughts
Eyeliner doesn’t have to be complicated. With a little practice, the right technique, and a formula you can trust, you’ll be creating smooth lines and confident wings in no time.
Start simple, take your time, and most importantly have fun with it. And remember: your wings are sisters, not twins. They don’t have to be identical to look amazing.